
As the sun rises for the big day (in this scenario), the French leaders discuss if their defenses are strong enough. They are confident the combined army of New France is able to stop and push back the red coats along with the provincial regiments crowding in front of them.
The French prepare for battle
A batch of 500 Canadian militia lands in the morning and they are sent forward to beef up the French left. They arrive just in time to see a huge number of enemy troops approaching.
Other French troops are shifted to better positions to eliminate weak spots. If the British break through, they’ll have to fight their way in to defenders’ rear. And that will not be easy and requires bringing the heavy artillery forward.
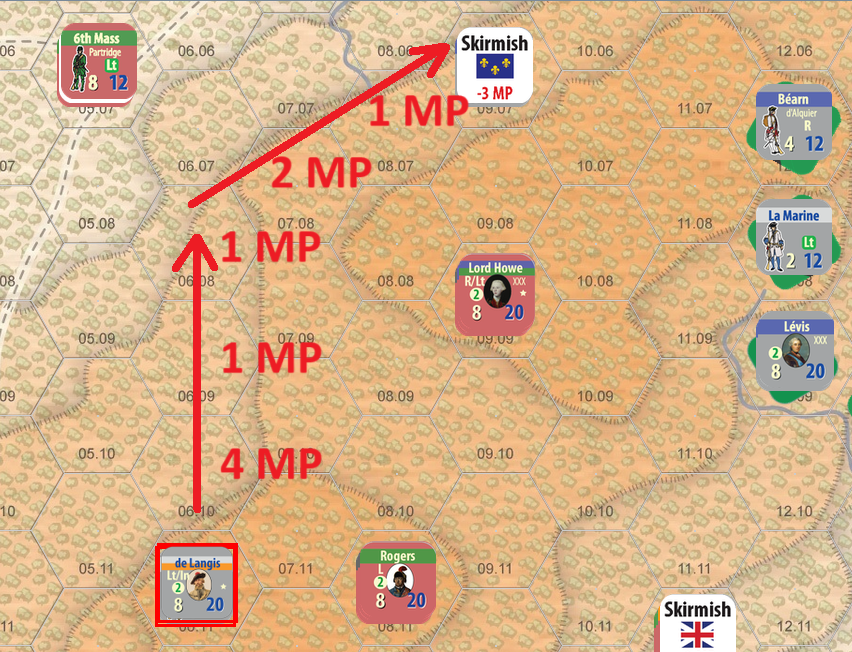
De Langis with his blocking force sneaks back through a gap left by the enemy vanguard and is able to get back to friendly forces. 12 movement points is just enough even in this tough terrain. No need to use Forced March which would lower their fighting ability. Crossing a steep slope takes time, but the rest of the journey was mostly along the side of the mountain. The distance is not great, but this is difficult terrain and I have slowed down the game over time – there was too much mobility in earlier versions.
This concludes the French Movement Action Segment and we get to the British movement next as they prepare the troops for the big day.
First, two Artillery Castles move into action one by one. As the first one nears the narrows where the French positions are located, some heavy 18-pounder cannons start blasting at this “armored” vessel. This time they miss completely by rolling a zero. Even the available modifier does not help – a zero is a zero. The British vessel continues advancing into the nook – the other French artillery remains silent as they are waiting the first vessel to continue their journey even deeper. The British artillery captain Ord decides not to push his luck and opens fire against the French fortification at point blank range.
With four howitzers and two guns onboard, they succeed gaining a hit. We still have to test for potential damage, so another roll is required. They do not miss and inflict massive damage on the earthworks destroying them completely. A shift right with the short range helped to achieve this. The artillery also takes a step loss reducing the 18-pounders to two pieces. This was a significant achievement, especially as the British ground troops hadn’t started their advance yet. A hole is opened in the French lines!
Artillery losses are not counted in the game – they just lessen the capabilities of the side suffering the loss. The second Artillery Castle also moves forward and in turn is interdicted by the two remaining heavy cannons, but without causing any damage. This time the two other batteries do not wait for a deep excursion and open fire at three hexes range even if it is beyond optimal (which for them is either one or two hexes). They score a hit forcing the vessel to retreat – no other damage was suffered.
Besides moving a lot of British troops and artillery for the assault, I also try to sneak a small Provincial unit through the artillery gauntlet. It’s unlikely they’ll make it, but let’s try!
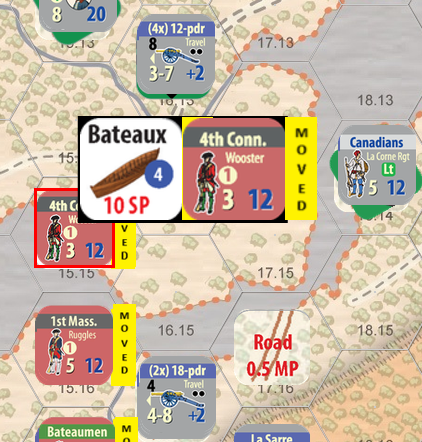
Cannons anchoring the French left take a shot and hit the bateaux. This Connecticut regiment ends up taking a step loss becoming disrupted and falls back to the departure area.
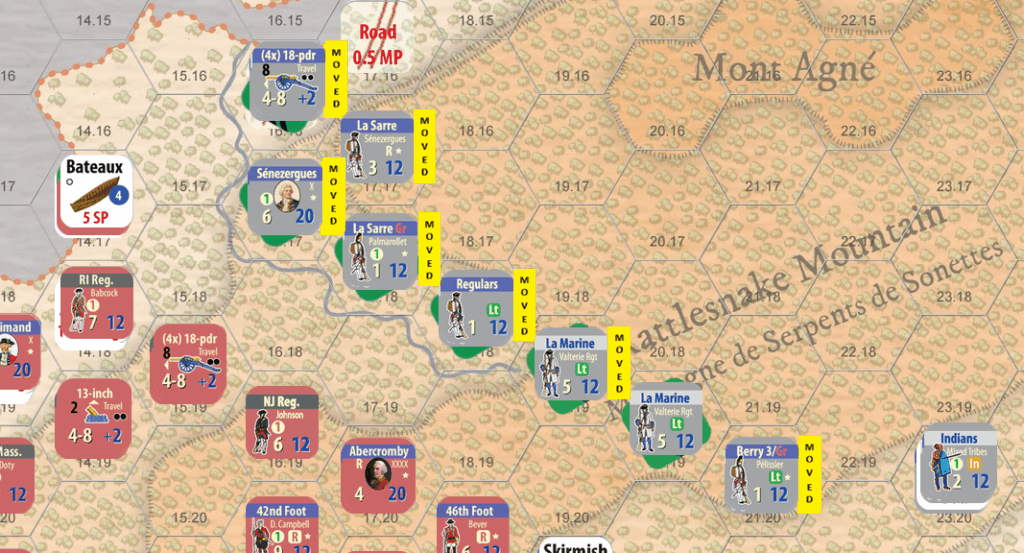
I decided to not only try to breach the hex where fortification was destroyed, but also another one in the middle of the French line – this is where the assault is now planned. I put two of the strongest British regular units into Assault Mode and moved forward pretty much half the Brutish army.
There were mostly provincials close to the shoreline, so they would have to attack separately. My regular infantry was too far away to be prepared for an assault there – after all, I hadn’t expected to be able to attempt a breakthrough there.
The British troops had been split and this complicates the planning. I had some of my best commanders on the wrong side of the lake, but I take that as they are now in reserve in case I do need to renew my attacks later. There will be heavy casualties, just like in the real battle, when going against a fortified position. I was able to move some units across the lake to enforce the British assault troops. Additionally, some heavy artillery took too long to drag over to the front to support my attacks this turn. They might be available in the afternoon if we still need them.
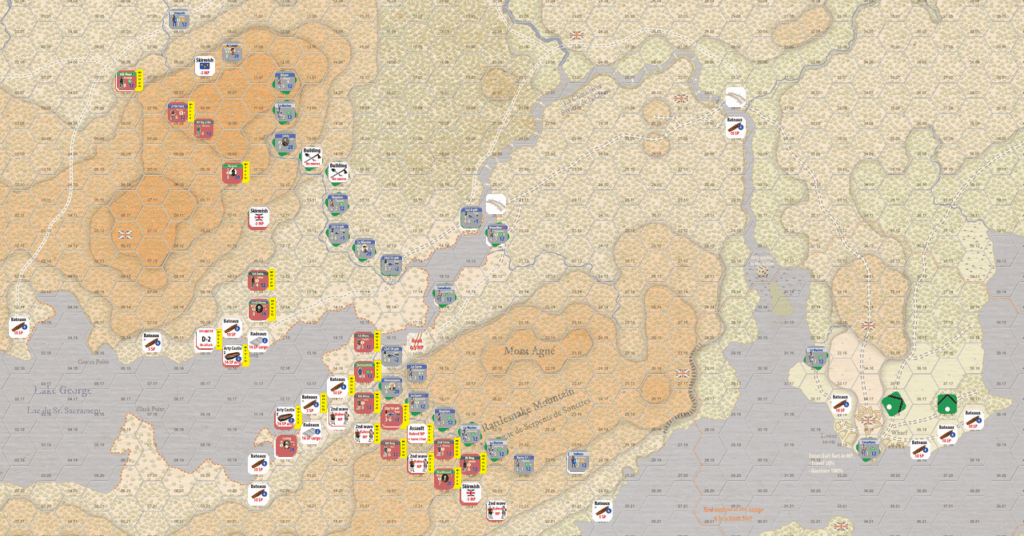
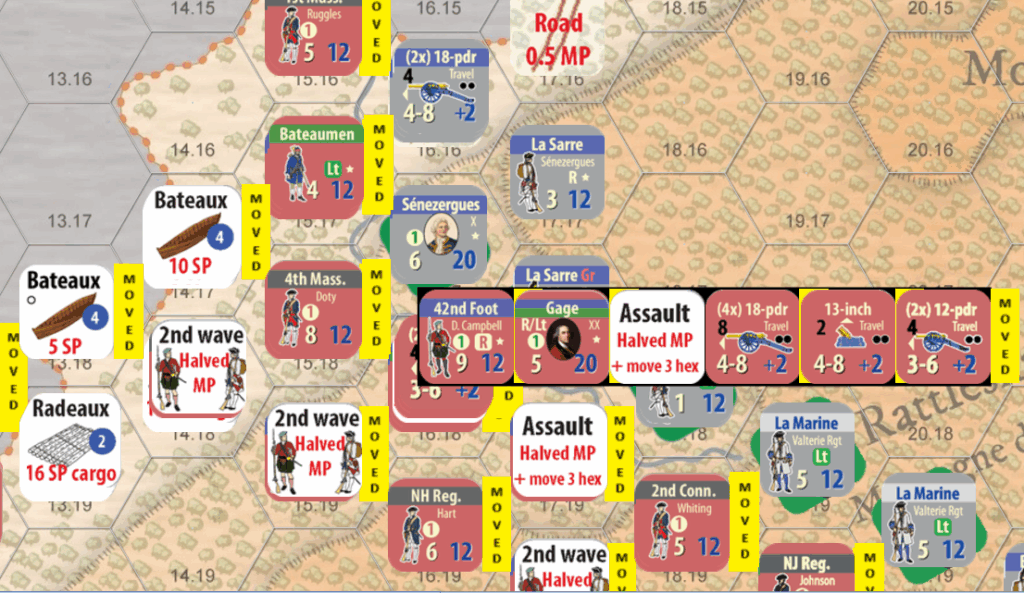
The overall battlefield with a skirmish line on the west side of Lake George (top) and a concentration of the British main army on the eastern side (bottom).
The Battle
Combat consists of one or more “rounds”. The first round is simply all combat after movement is completed – being adjacent to the enemy typically means you must attack. This is the first round. If, after all battles between the forces have been resolved, there are adjacent opposing units resulting from a) advancing or retreating after combat and/or b) reserves, i.e., the 2nd wave units, are brought into action. In this case, adjacent units must now resolve combat. Exceptions to this rule are, for instance, water between the two units (except streams, at least for now) or both sides are entrenched.
I will now start with the British left wing attacking the hex where French entrenchments were destroyed. As I am unable to use the Assault, which actually could have been useful here, I have to make two separate attacks. As most of the units there used water movement, they cannot participate in an assault.
The provincials attack first – DRMs are against them, but never know! -1 for the 1st Mass, -1 for crossing a stream, -1 for Sénezergues leading the French. They get +1 for Haldimand on the adjacent hex. The French decide to save their artillery for the other stack that has the British Grenadier battalion.
And they roll a zero… that is a “challenging” result. They take two step losses + disruption, a morale loss for the whole army, and also a leader hit check.
The British morale drops to Good. It’s not that bad really, but going down on the scale is not good news. It’s a race to the bottom and the “winner” loses.
Boom! Haldimand does not pass the leader hit check and is dead. There goes a bonus I was planning to use in the next attack.
Now the French fire their guns against the stronger British stack. Target is of course Grenadiers. Fiedmont – the French artillery officer provides +1 DRM. It’s an 8, modified to 9 – a definite hit. But they only roll a 2 and basically do not hit enough enemies to make a difference.
Another attack follows by the British Grenadiers supported by Bateaumen. No leader support is available as we lost Haldimand, but adding up the DRMs they all cancel each other out. +2 for Grenadiers against -1 for stream and -1 for busybody Sénezergues.
The odds are 2:1 and the roll was an 8 (not too bad, really!). No casualties on either side, but the French have to retreat and their cannons are captured by the British.
My sacrificial lamb is the 4th Mass who has to attack the well-entrenched Berry Regiment’s 2nd Battalion so they cannot support any of the surrounding engagements. The Mass troops have to attack across the stream, uphill, against a redoubt led by one of the best commanders in the French army. The raw odds are 2:1 but there will be three column shifts against… final odds are 2:3 and DRMs are -3. Looking bad!
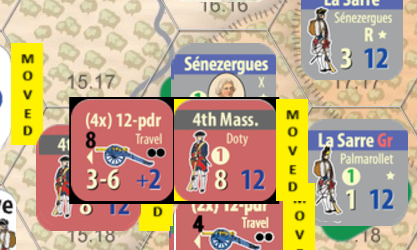
Rolled a 3. With -3 it becomes a zero and we get yet another -2DM* result. Two step losses, a morale loss and a leader loss check. The brave Massachusetts regiment loses half of its strength (both of their step losses were actually 2 SPs),
I will have to continue this in the next post – soon!